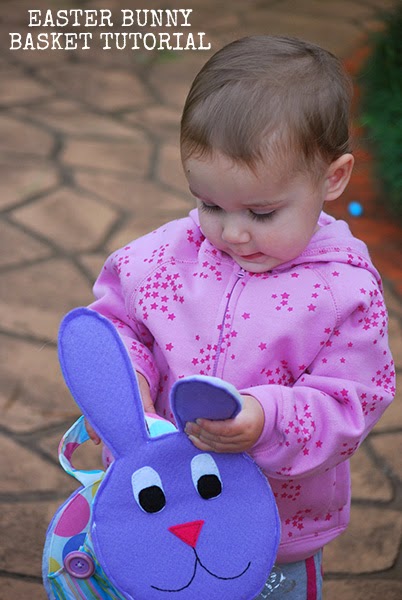
I made these bunny baskets back in April 2008. They were pretty easy and for the most part, I made them with supplies I already had hidden away in my room from my husband on hand.
What you will need:
- 2 pieces of felt for the head and bottom, also some scraps to make the eyes and nose. Just the cheap stuff that comes in 8.5×11 will suffice;
- Wadding/batting;
- Template plastic;
- 2 fat quarters in coordinating fabric (unless you’ve got some bright, happy scraps);
- Black DMC type thread for the mouth;
- A white pom-pom thing for the tail;
- 2 buttons;
- Double sided tape.
I decided to shut the gate after the horse had bolted, of course, so I’ll need to explain some of the steps without photos.

Directions:
- First off, you will need to design your bunny’s face shape. I started off with tracing a circle from a plate onto a piece of scrap paper. The approximate diameter is 6″. I then drew my bunny one ear. I kept sketching over the ear until I was happy with the shape. I then folded my paper in half and traced the other ear so they would be matching.
- I cut this paper bunny out and traced around it onto the sheet of template plastic. Cut the bunny out of the plastic.
- Use this template to cut out the bunny’s face from the felt and from a piece of batting.
- This is the time where you will need to sew the bunny’s face on (see above photo).
- Now you will need to cut out a bunny’s head from the fabric. It will need to be about 1″ larger than the template.
- With the fabric piece, take your double sided tape and pull the fabric tight and stick it down. The tape will need to be at the very edge of the fabric as you do not want to sew through it. Alternatively you could use a spray adhesive, but I didn’t have any.
- Taking the plate you used for the face, you will now need to basically repeat the above steps but for the back of the bunny. This will be a plain 6″ circle.
- Make sure you stitch the tail pom-pom on now. Trust me, it sucks to do it after you’ve sandwiched it.
- Next we will make the ‘basket’ part of the basket.
- Don’t sandwich just yet!!
Now for the ‘basket’ section:
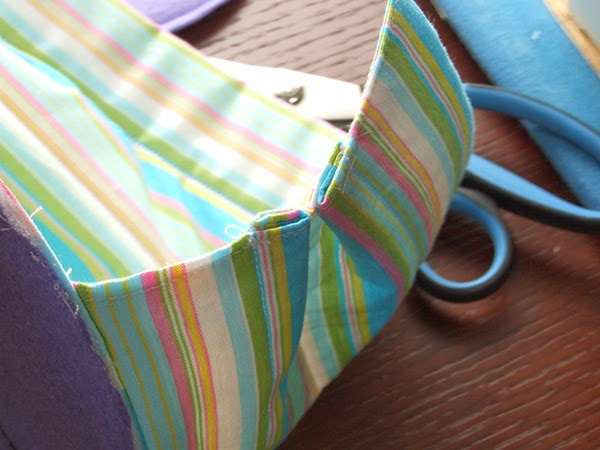
- Cut a piece of fabric 12″x12′. Cut a piece of batting 5.5″x11″.
- Iron the piece of fabric in half wrong sides together. Also, iron the end 1/4″ each end and a 1/4″ on each side.
- Place the batting inside and sew around the edges. It should look a little something like in the top photo. It should end up the same size as the batting you cut.
- I quilted stripes in mine lengthways about an inch apart (just for decoration really).

Next for the handle:
- Cut a piece of fabric 2″x11″.
- Iron it like you would create bias binding (in half lengthways with the edges tucked under).
- Sew along the length of the handle, don’t worry about the ends.
Now for the sandwich:
- Layer your bunny’s head so that the handle is between the batting and the plastic, right in between its ears.
- Start to sew around your bunny’s head close to the edge. You will need to sew slowly as you are sewing through the template plastic and you don’t want to break a needle. Don’t worry if the batting is visible.

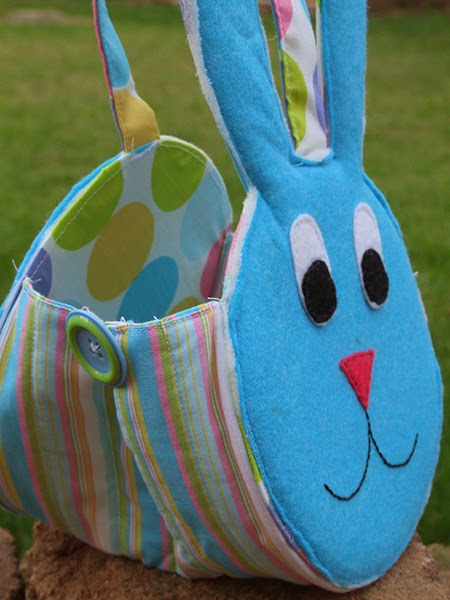
Further handle instructions:
- Now that you have the handle sewn to the head, you now need to sandwich it on the back half of your basket as well.
- Repeat the above instructions and you should have something that resembles the photo below.

Now for the ‘basket’ part:
- You need to find the centre bottom of your bunny’s head and the middle of the long length of your basket fabric.
- Line the two middles up and then work the fabric along the edge back to the start of it so you can start sewing.
- Place your fabric edge just inside the bunny head’s edge and sew slowly until the end of the length.

This was the point where I thought the basket would be too slack and I sewed in a pleat.
- The back of the pleat is 1″, so the folds are 1/2″.
- Sew pleats on both sides.
Now to sew the bottom on.
- Basically, it was exactly the same as when you sewed the basket portion on to the head, except it is slightly more fiddly, but persevere as you are almost finished!

After you sew your pretty buttons on top of the pleats, you have completed your bunny baskets!

And yes, you will see the batting, but it gives your bunny a furry look which I quite like.
But you will also get some cute baskets and hopefully even cuter photos!
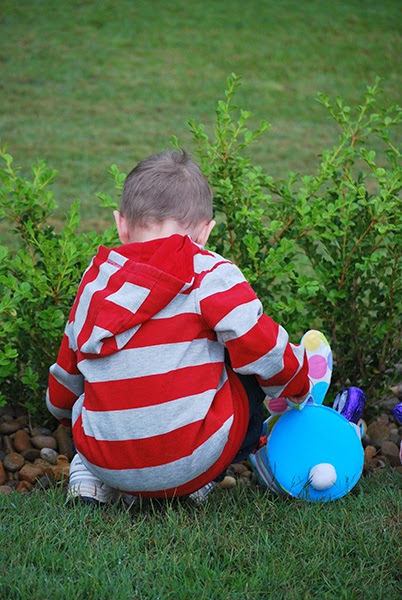
I’d love to see your baskets if you make them by leaving a link in the comments!